PART 1: HISTORY OF PHOTOGRAPHY & AMAZING PHOTOGRAPHY FACTS
1.1 After watching the video below about making a daguerreotype, here is list the main take-outs from it in a document.
- Was the process efficient? Most early photos used the daguerreotype process invented by Louis Daguerre. This was the first commercially successful photographic process (1839-1860) in the history of photography. “It enjoyed its greatest popularity in the United States,” Shumard says, “thanks to the entrepreneurial spirit of American practitioners and a middle class made up of eager consumers.” Daguerreotypes offered clarity and a sense of realism that no other painting had been able to capture before. By mid-1850’s, millions of daguerreotypes had been made to document almost every aspect of life and death.
- Was it safe? Creating daguerreotypes was very technical and involved a number of dangerous chemicals including mercury, cyanide and sulfuric acid. There were even reports of some photographers getting “mad-hatter syndrome,” or mercury poisoning. The daguerreotype was incredibly sensitive to movement, requiring the subject to remain still for as long as thirty minutes, as well as keep their eyes shut. There was also the possibility that the daguerreotypist would contract mercury poisoning, which could cause, among other things, blindness or death.
- What about the quality? Each daguerreotype is a remarkably detailed, one-of-a-kind photographic image on a highly polished, silver-plated sheet of copper, sensitized with iodine vapors, exposed in a large box camera, developed in mercury fumes, and stabilized (or fixed) with salt water or “hypo” (sodium thiosulfate). The daguerreotype is accurate, detailed and sharp. It has a mirror-like surface and is very fragile. Since the metal plate is extremely vulnerable, most daguerreotypes are presented in a special housing.
- Any other comments on this process? But the daguerreotype had serious limitations. The mirror-like surface of the image could only be viewed from a narrow angle. Further, the process produced a one-of-a-kind image that did not permit printing duplicates.
- What caused it to stop being used? There were some disadvantages with the daguerreotype; it has a long exposure time, it is expensive, and the cameras are very large. The popularity of the daguerreotype declined in the late 1850s when the ambrotype, a faster and less expensive photographic process, became available.
1.2 My opinion about why film may be a photography medium that is making a comeback, especially in a more commercial (business) sense relevant to my field of study.
- If you’re a graphic designer, building your photography skills can also lead to better design. Photography strengthens your ability to consider composition, or the formal relation of elements in an image. Photography also enables you to better understand the impact of light and color, and importance of texture.
- Film is better at capturing subtle details and color contrasts, especially between black and white. Lower initial costs. Traditional film cameras are generally cheaper than digital cameras. No fear of your camera losing power. Film images are captured on a negative. Something tangible. Compare that to the horror stories of someone who had lost all their digital image files due to a hard drive crash. You get the point.
- Authenticity & Credibility: Think of something handmade versus machine-made. You know that the person that handmade it put thought and effort into it; there is a certain amount of craftsmanship for which you are willing to pay a premium price. Taking pictures with a film camera is similar. For one, not everyone can do it well.
- Exclusivity: For Clients wanting the best of everything in life, it is an allure to have their special moments captured on film.
1.3 Here are some large format film/ wet plate photographs online that I am really impressive.
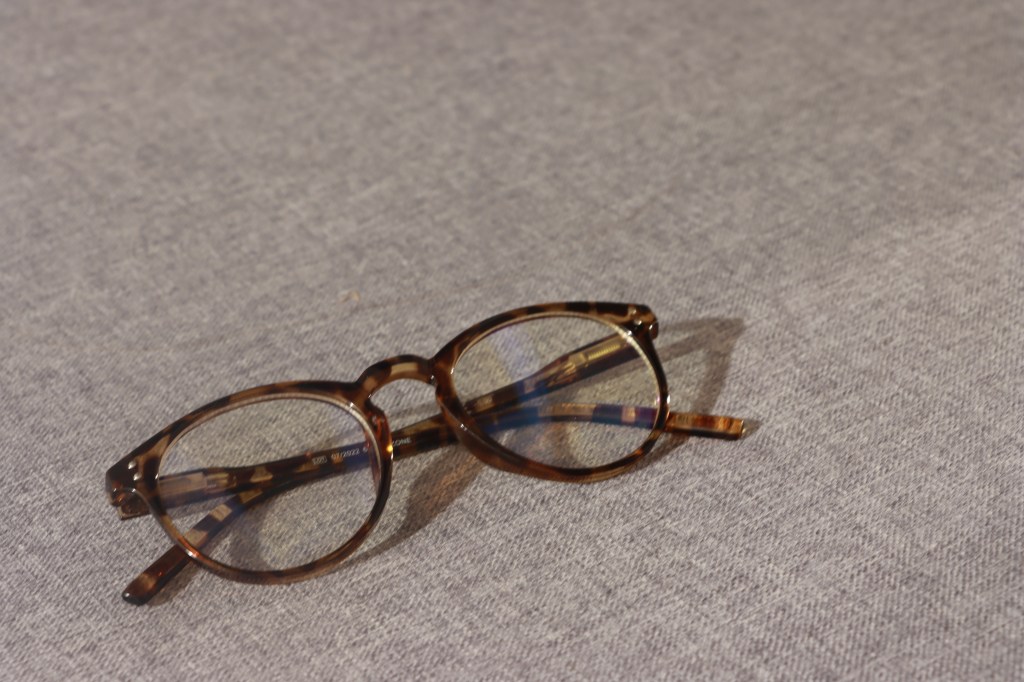
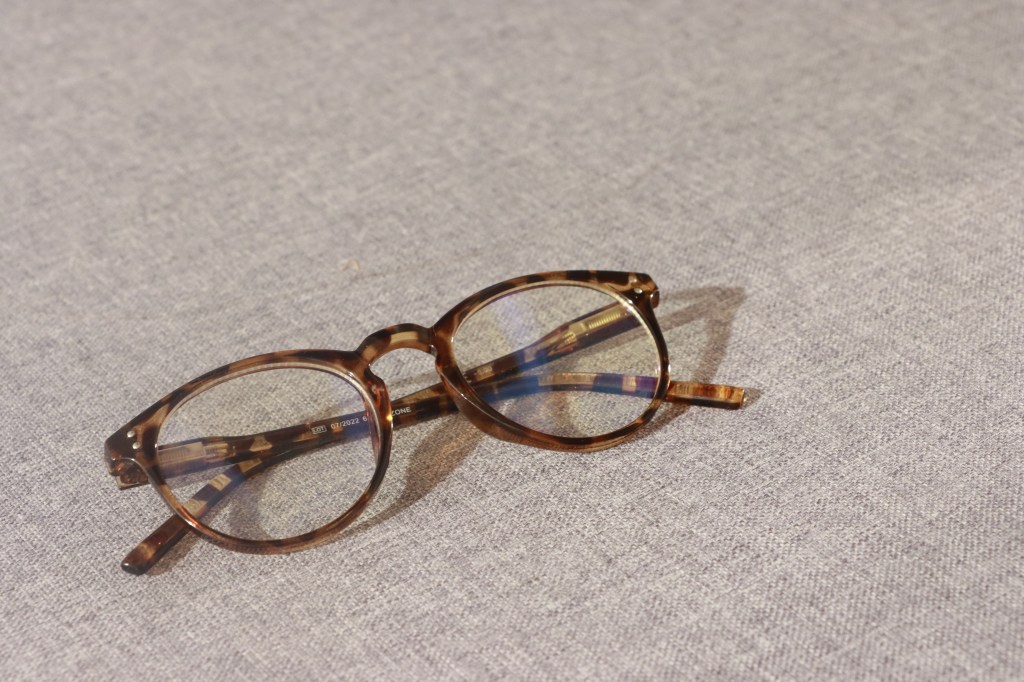
Large format film photographs by Sandy Phimester from Western Canada.
These two images was taken by Sandy Phimester from Canada. I love the way how he sets up the process, it’s a lot slower to shoot large format. I love the large format photographs because the quality of the image, the piece of film is so big in comparison to 35mm or 120, the grain is much less noticeable. The transition of tones is beautiful!
“Find what you love to shoot, what you’re passionate about, and give large format a try. There’s always something new to learn, there’s always more ways to grow. Isn’t that such a beautiful thing about creativity?” Sandy Phimester.
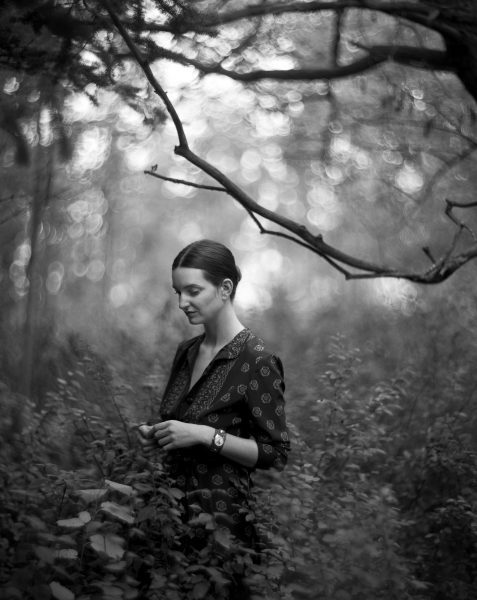
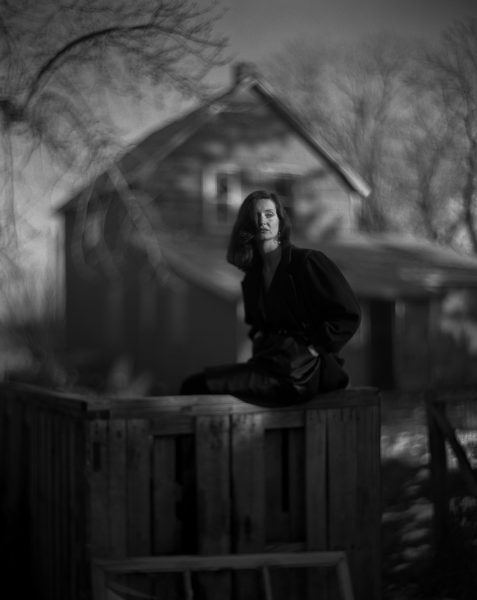
Wet collodion photography is complicated. Wet plate collodion printing has had a long and storied history. It developed through the 19th century. And the tintype collodion process became the most widespread photography technique in the world. In the 20th century, it came close to being completely forgotten about. But now, in the 21st century, photographers are renewing the art form. And with great success. Here are some wet plate photographs by Daniel Samanns from Berlin Germany that I appreciate:
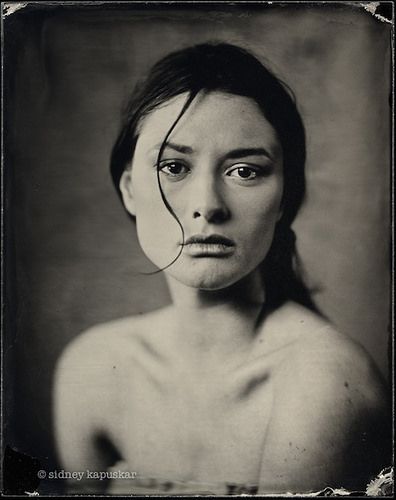
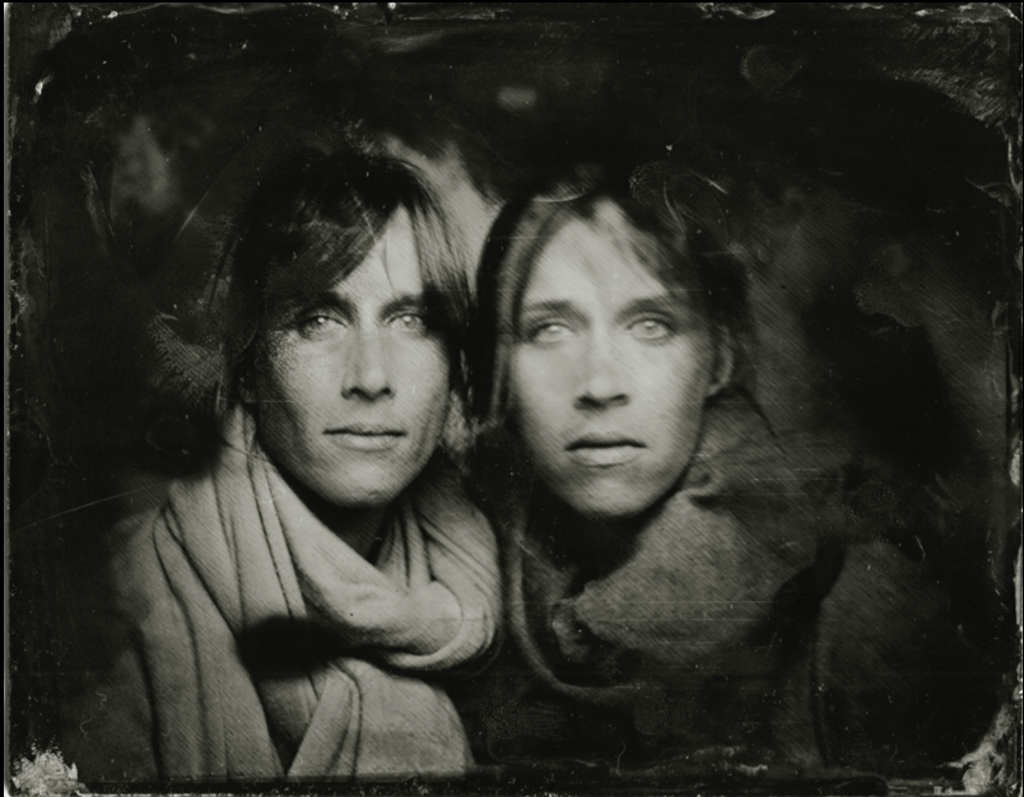
I really love the contrast and beautiful details of the images. For me, Daniel Samanns was succecfull in using the wet plate technique to make the portrait photographs unique.
“Magical and powerful at the same time, in its intensity and expressiveness. A timeless beauty that makes you forget any time and any space, the more seriously you approach it. A beauty based on the awareness of its uniqueness and in their pure “being”. Once manifested, the ambrotype disenchants fleetingness and transience of the modern idea of beauty” Daniel Samanns
PART 2: CAMERA ANATOMY AND PHOTOGRAPHY BASICS
2.1 Camera’s buttons, settings and researching for Canon 90D in manual “M” mode
- The fastest shutter speed is 1/8000, and slowest shutter speed is 30″
- The shutter speed dial will be faster on the right way, and be slower on the left way
- The widest-open aperture is f/3.5, and the smallest is f/22
- The lowest ISO is 100, and the highest is 25600. It has a shortcut (button) displayed on top camera LCD (can be turn on the light).
2.2 Experiment with the “Scene” modes of my camera (click on each photo for more info)
- (A) A portrait using landscape mode: ISO 1600, f/5.6, shutter speed 1/50s with tripod. The brightness was well handled and didn’t smudge. The photo turned out that I expected, with the very good soft light effect.
- (B) A landscape using the close-up (macro) mode. ISO 5000, f/4, shutter speed 1/250s with tripod. The photo actually didn’t close up on any object. The brightness was a bit dazzled and not really sharp.
- (C) A low-light landscape after sunset using Auto (the “Green” mode). ISO 3200, f/5.6, shutter speed 1/20s with tripod. The brightness in this photo was handled quite well in low light condition.

2.3 Wishlist of equipments that I would like to get for my photography
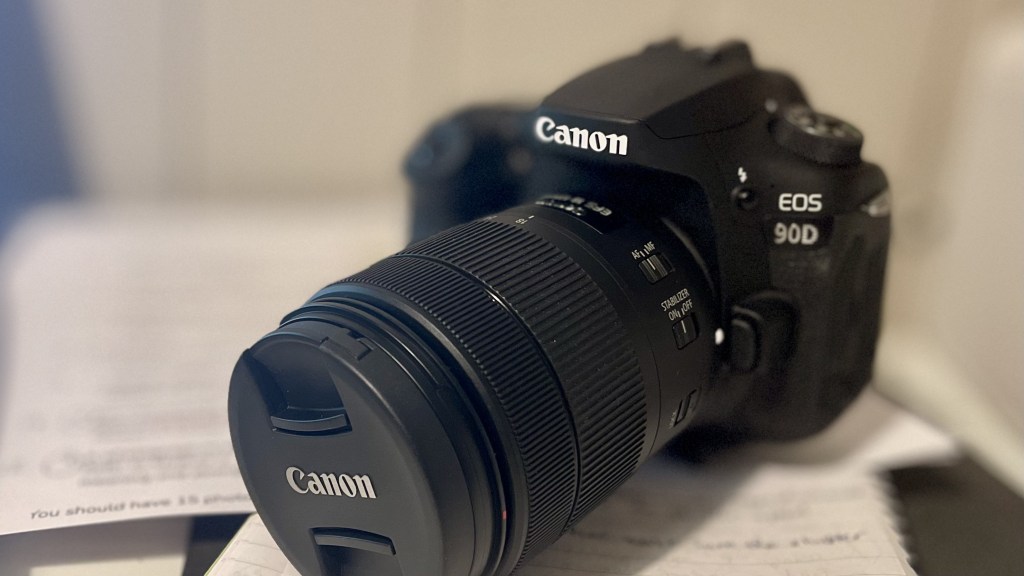
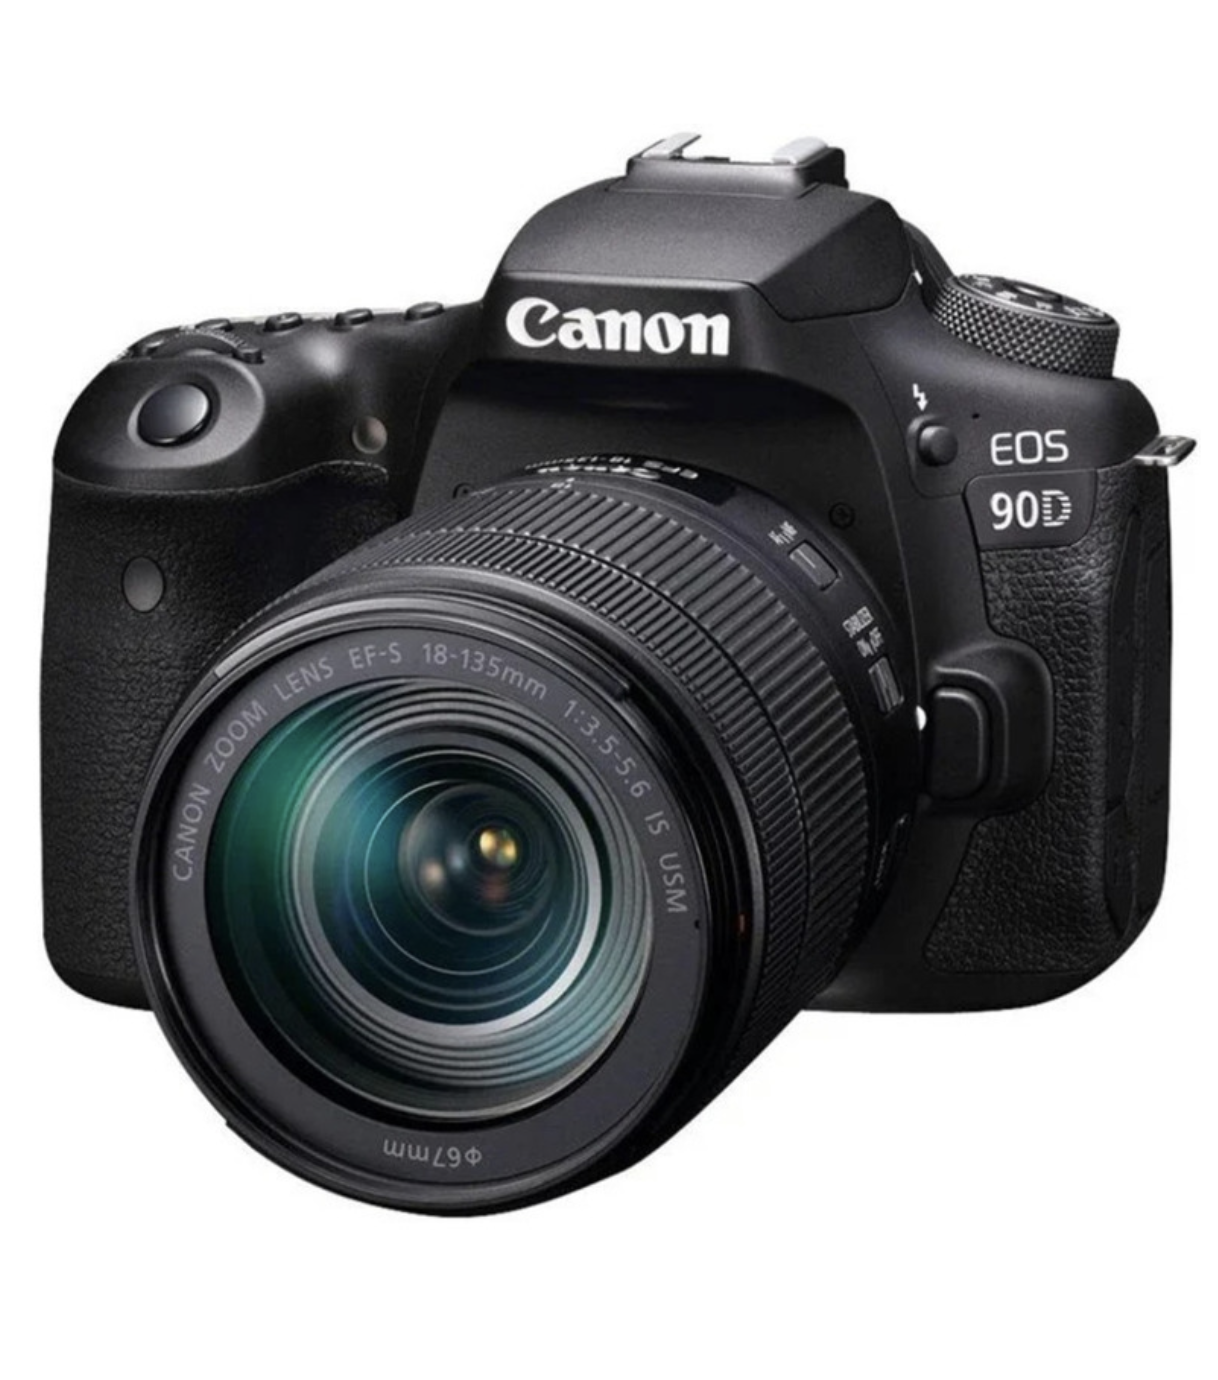
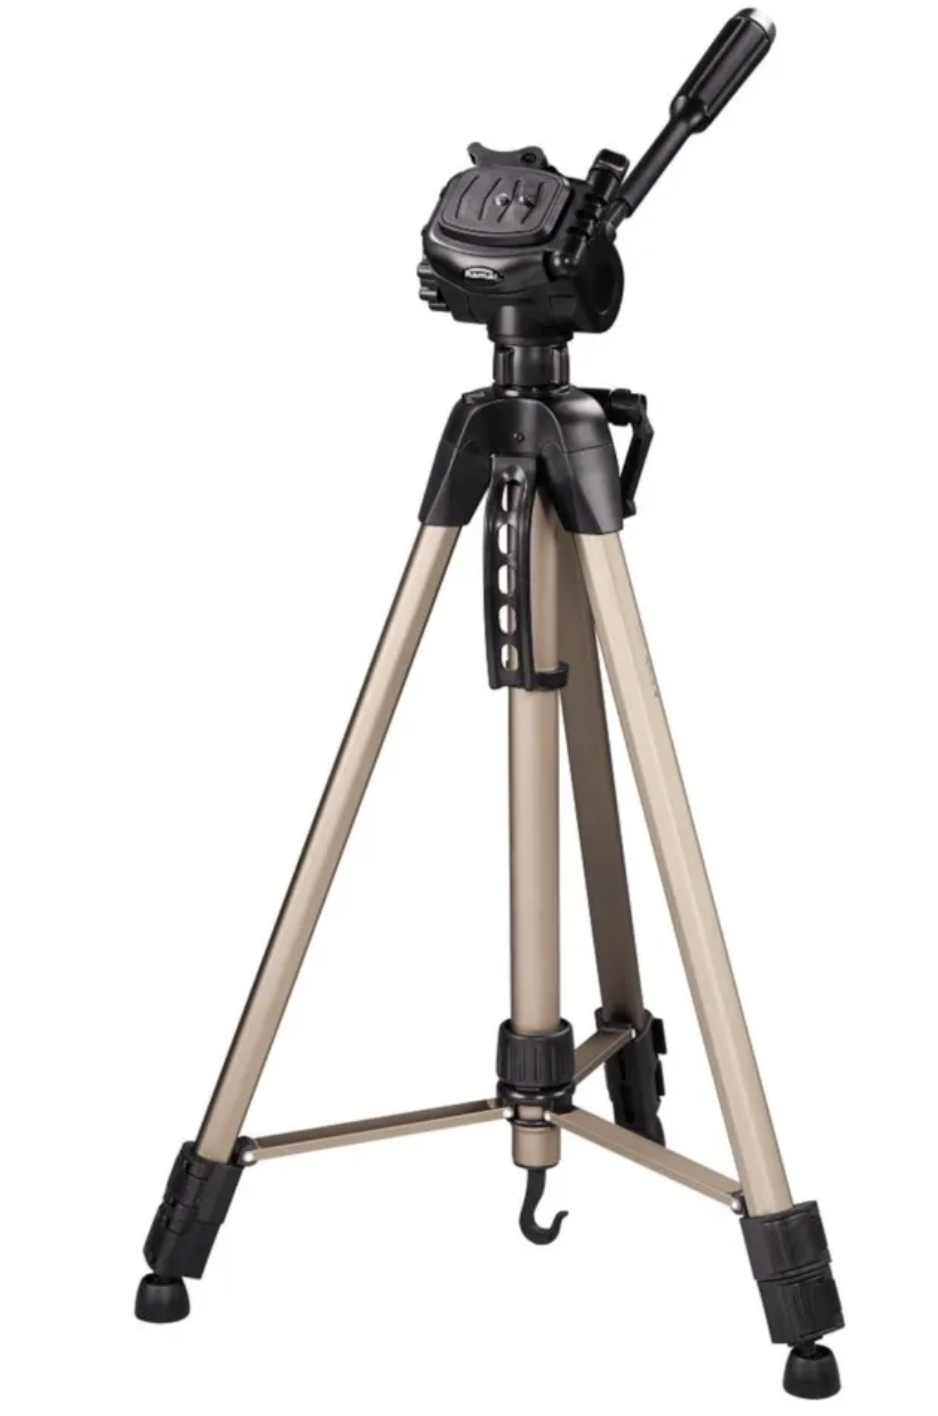
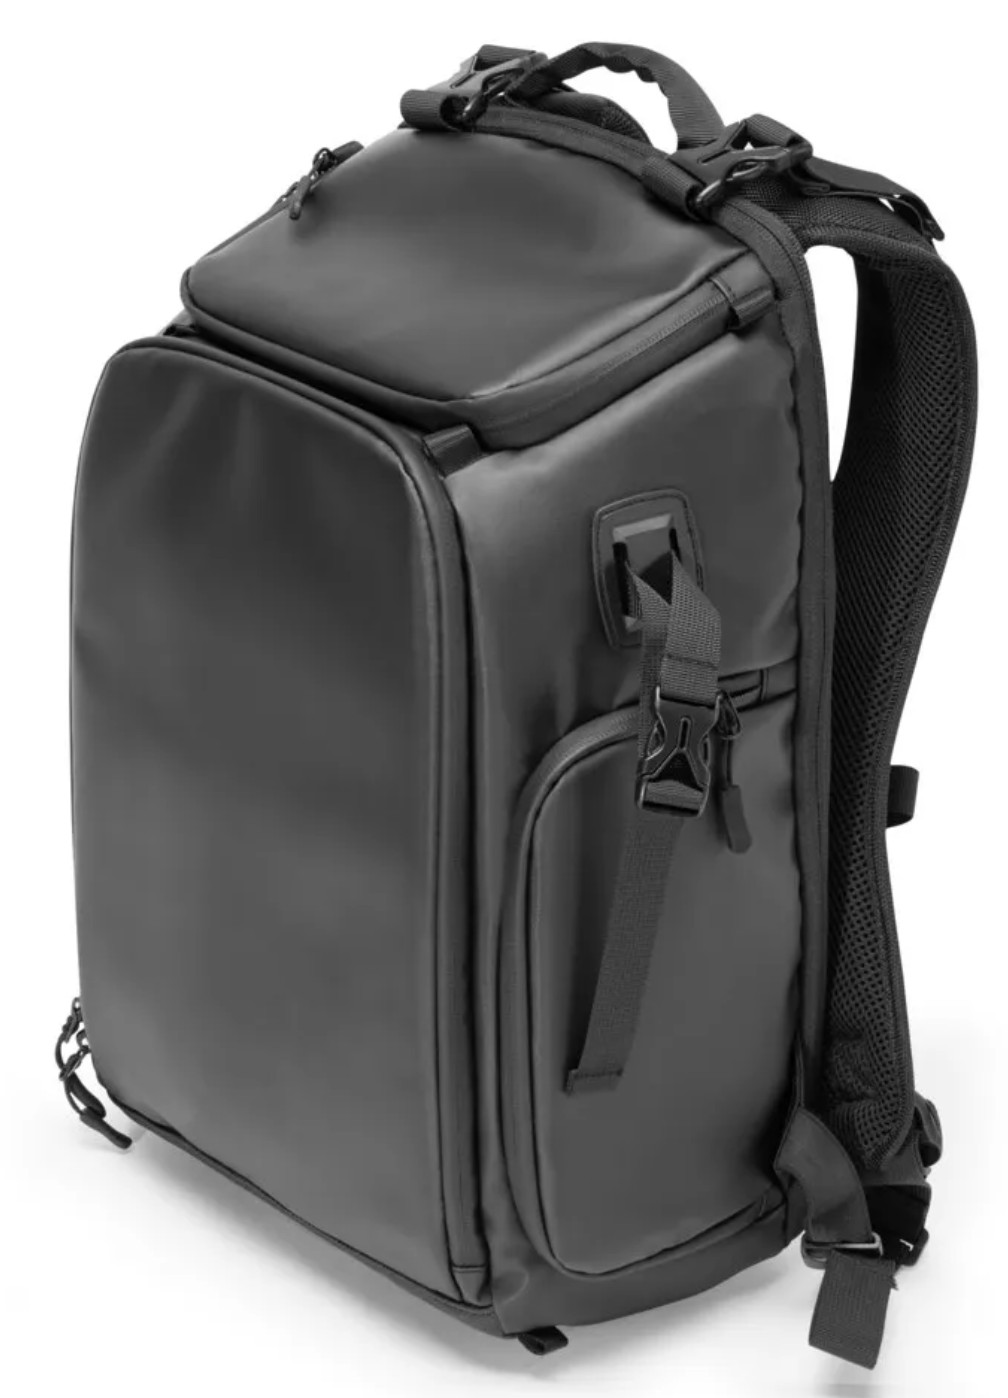
I just got my brand new Canon 90D with lens included, the price was very good deal in january, now it’s much more expensive cause no more discount. I bought this camera at the “Power” shop in Stavanger, but it also free shipping on their website. The tripod and backpack bought at jell & company shop, I got 10% discount on those product and I am super happy with these products (recommended!). The other equipments I will get as soon as possible after finishing the photography course assignment. Here is my wishlist:
- Canon EOS 90D + lens 18-135 MM F3.5-5.6 DSLR. Price: Bought 16000kr, now: 17990kr (power.no)
- A tripod (Star 62) max. height 160 cm. Price: 400kr (kjell.com)
- Nikabe B1 Tech backpack for digital camera and laptop 13″. Price: 799kr (kjell.no)
- 2x Battery + Camera Battery Charger for Canon 90D. Price: 639kr (subtel.no)
I think for a graphic designer, photography skills are quite essential in designing publications and visual commication. It’s really not a good idea to rely on stock photos so often, it’s not really exclusive and unique. So, for me, investing in a (semi-professional) camera is a pretty good investment.
2.4 Get familiar with “P” exposure mode
- Photograph outside during daylight (preferably sunrise or sunset, but depending on the weather)
- Photograph the same scene using at least 03 different white-balance settings

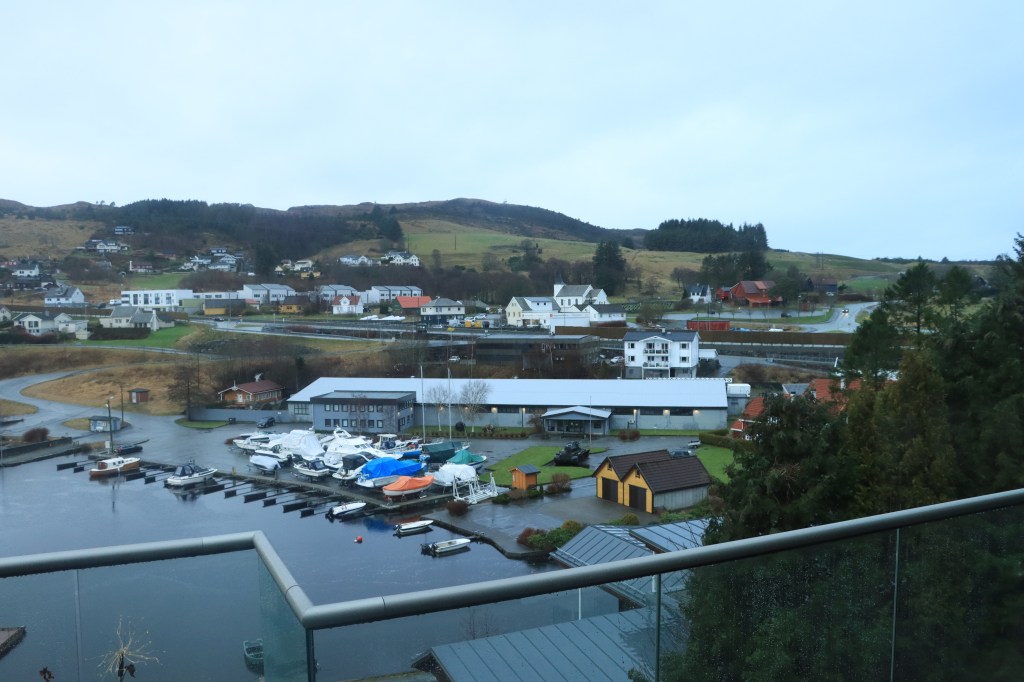
P mode, ISO1600, f/5.6, shutter speed 1/160s, with tripod, picture style (landscape), white balance (auto) 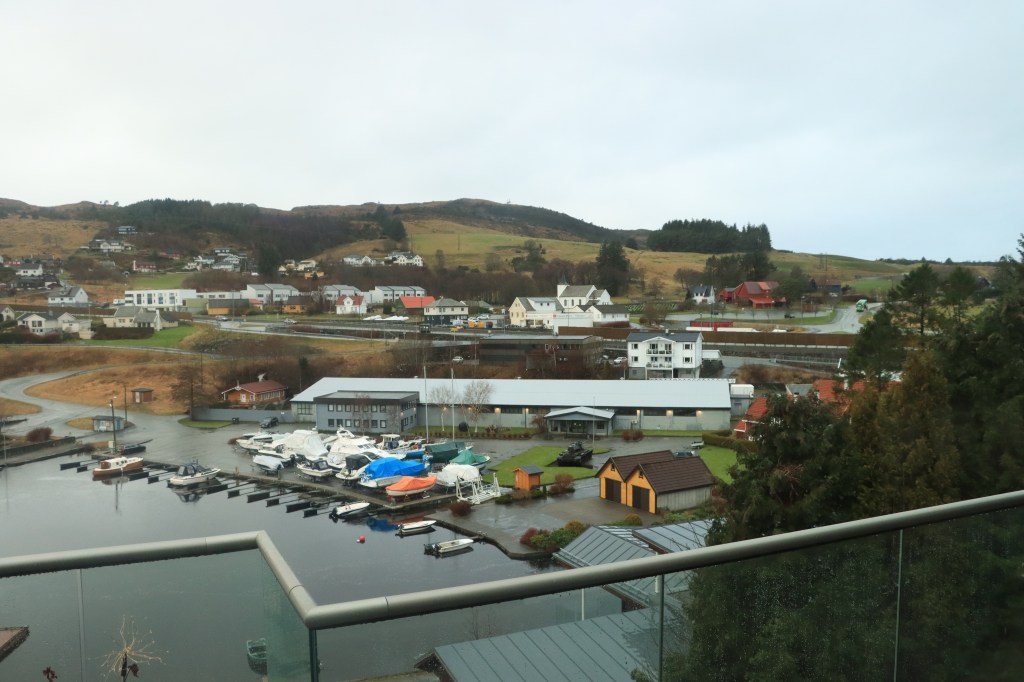
P mode, ISO1600, f/5.6, shutter speed 1/160s, with tripod, picture style (landscape), white balance (shade) 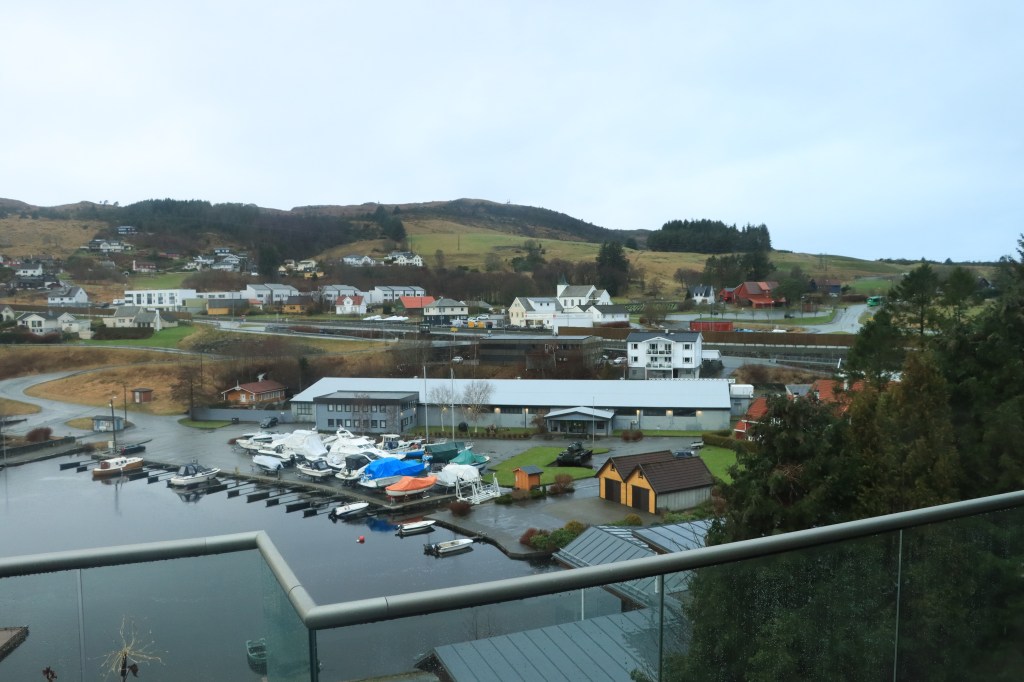
P mode, ISO1600, f/5.6, shutter speed 1/160s, with tripod, picture style (landscape), white balance (cloudy)
My comment: After experiencing different styles on P mode, I found out that: When I shooted during the daytime-cloudy, I should choose the white-balance setting “daylight” for the best result with vivid colors. And I love the 1st. photo best with “daylight” setting.
- Photograph indoor scene, do the same.
ISO2000, f/4, shutter speed 1/60s, with tripod, picture style (standard), white balance (daylight) 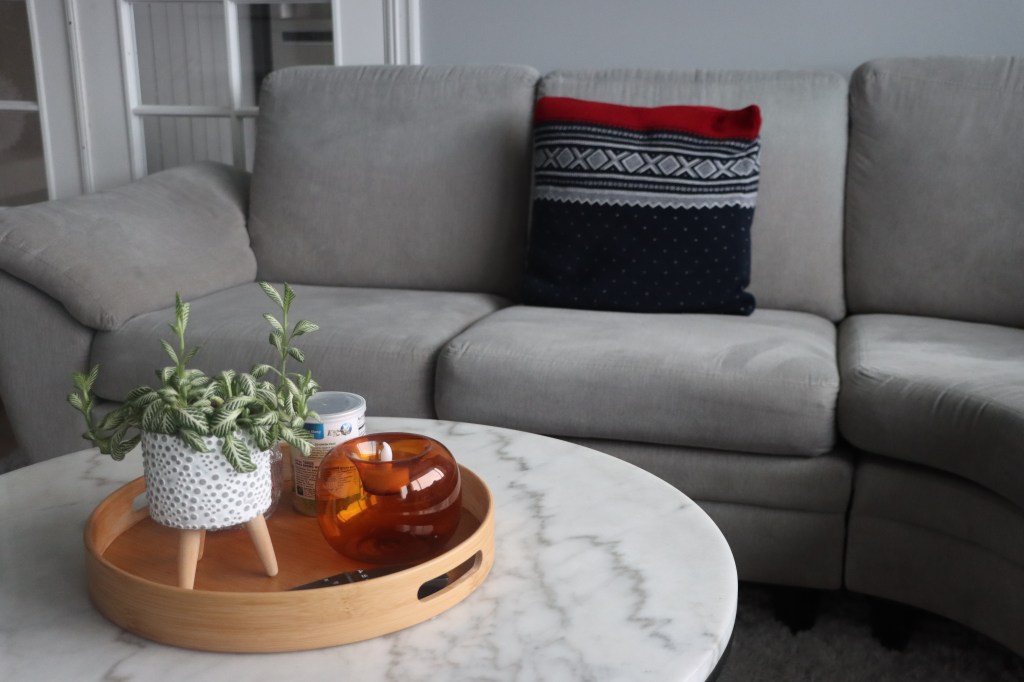
ISO2000, f/4, shutter speed 1/80s, with tripod, picture style (standard), white balance (auto) 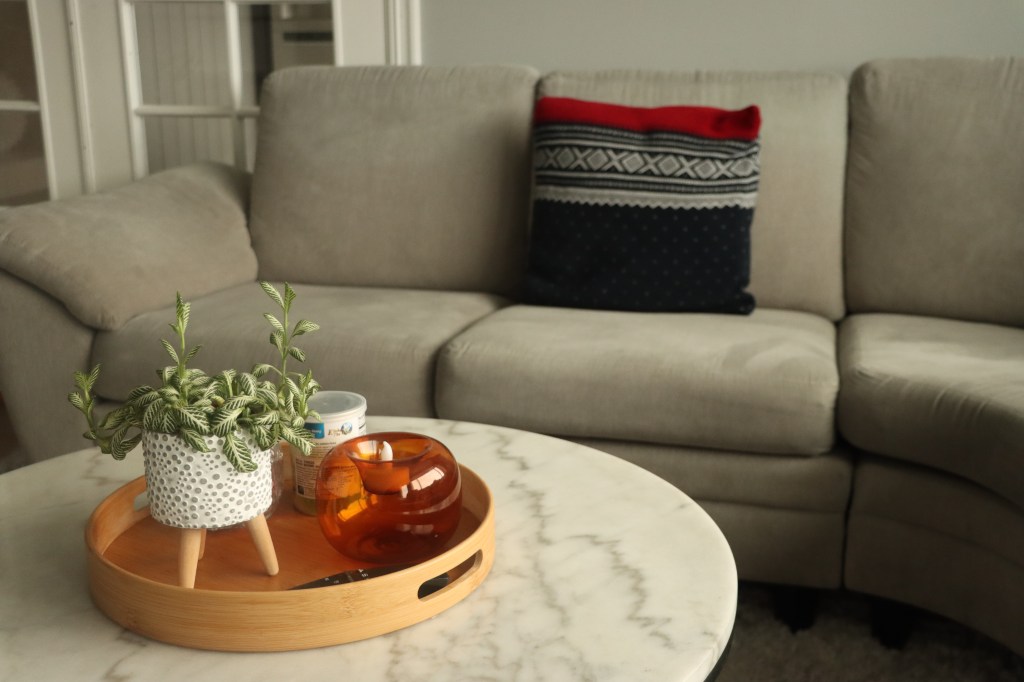
ISO2000, f/4, shutter speed 1/60s, with tripod, picture style (standard), white balance (shade) 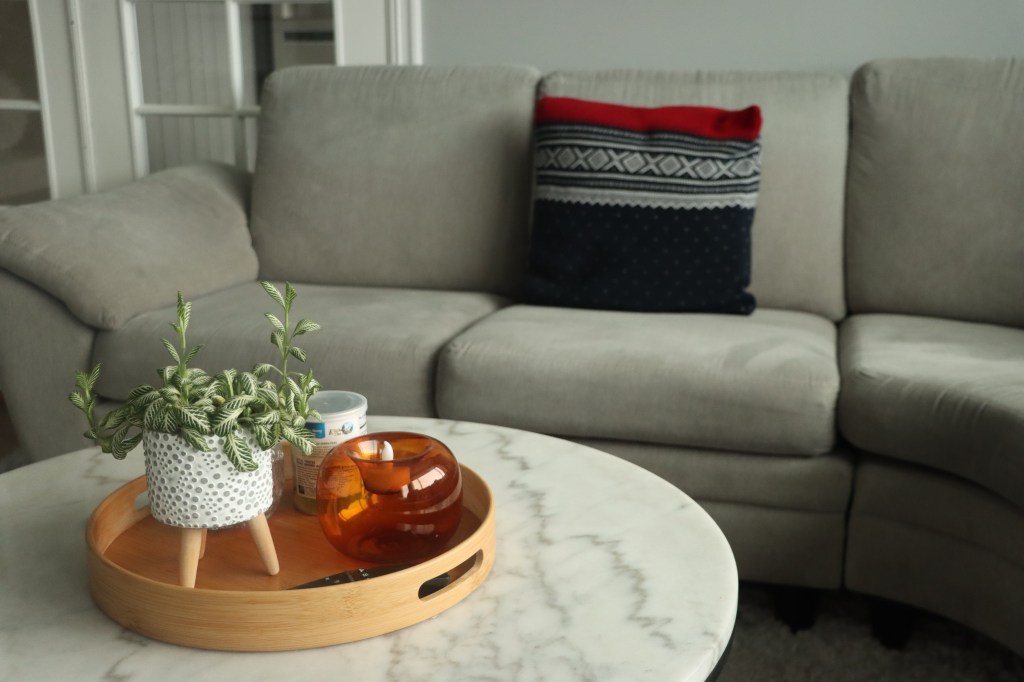
ISO2000, f/4, shutter speed 1/60s, with tripod, picture style (standard), white balance (cloudy)
My comment: When shooting indoor with P mode during daytime-cloudy. I like the white-balance setting “auto” most for the warm colors with moderately soft lighting, not quite cold lightingness so made me feel grey and boring.
PART 3: APERTURE – SHUTTER SPEED – ISO – THE LIGHT METER
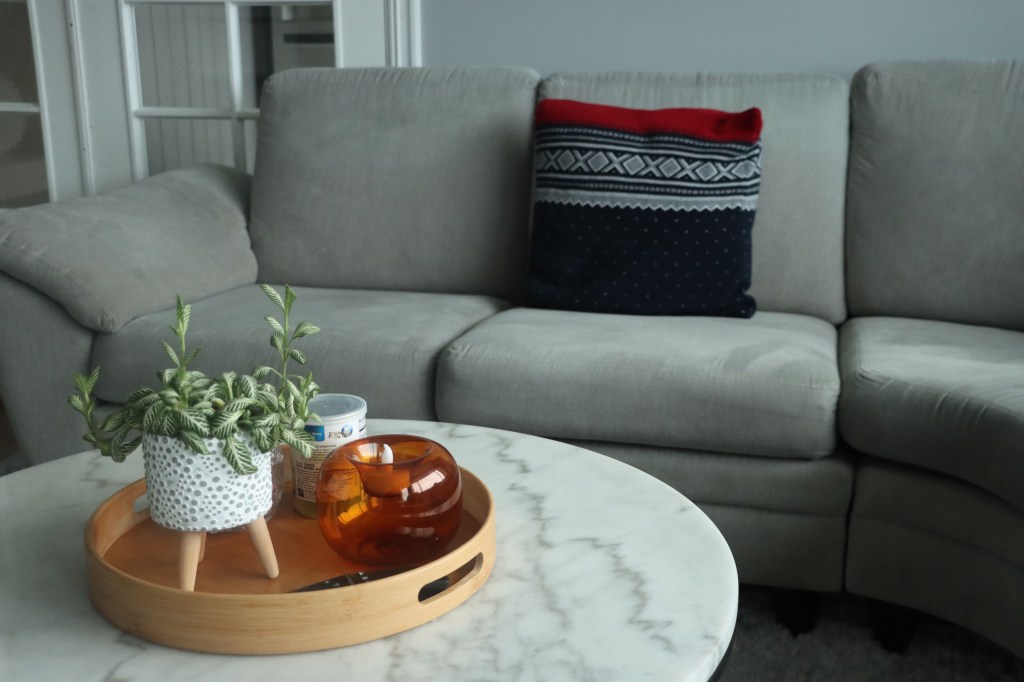
3.1 Subject in front of a brighter background (large window/door in daytime).
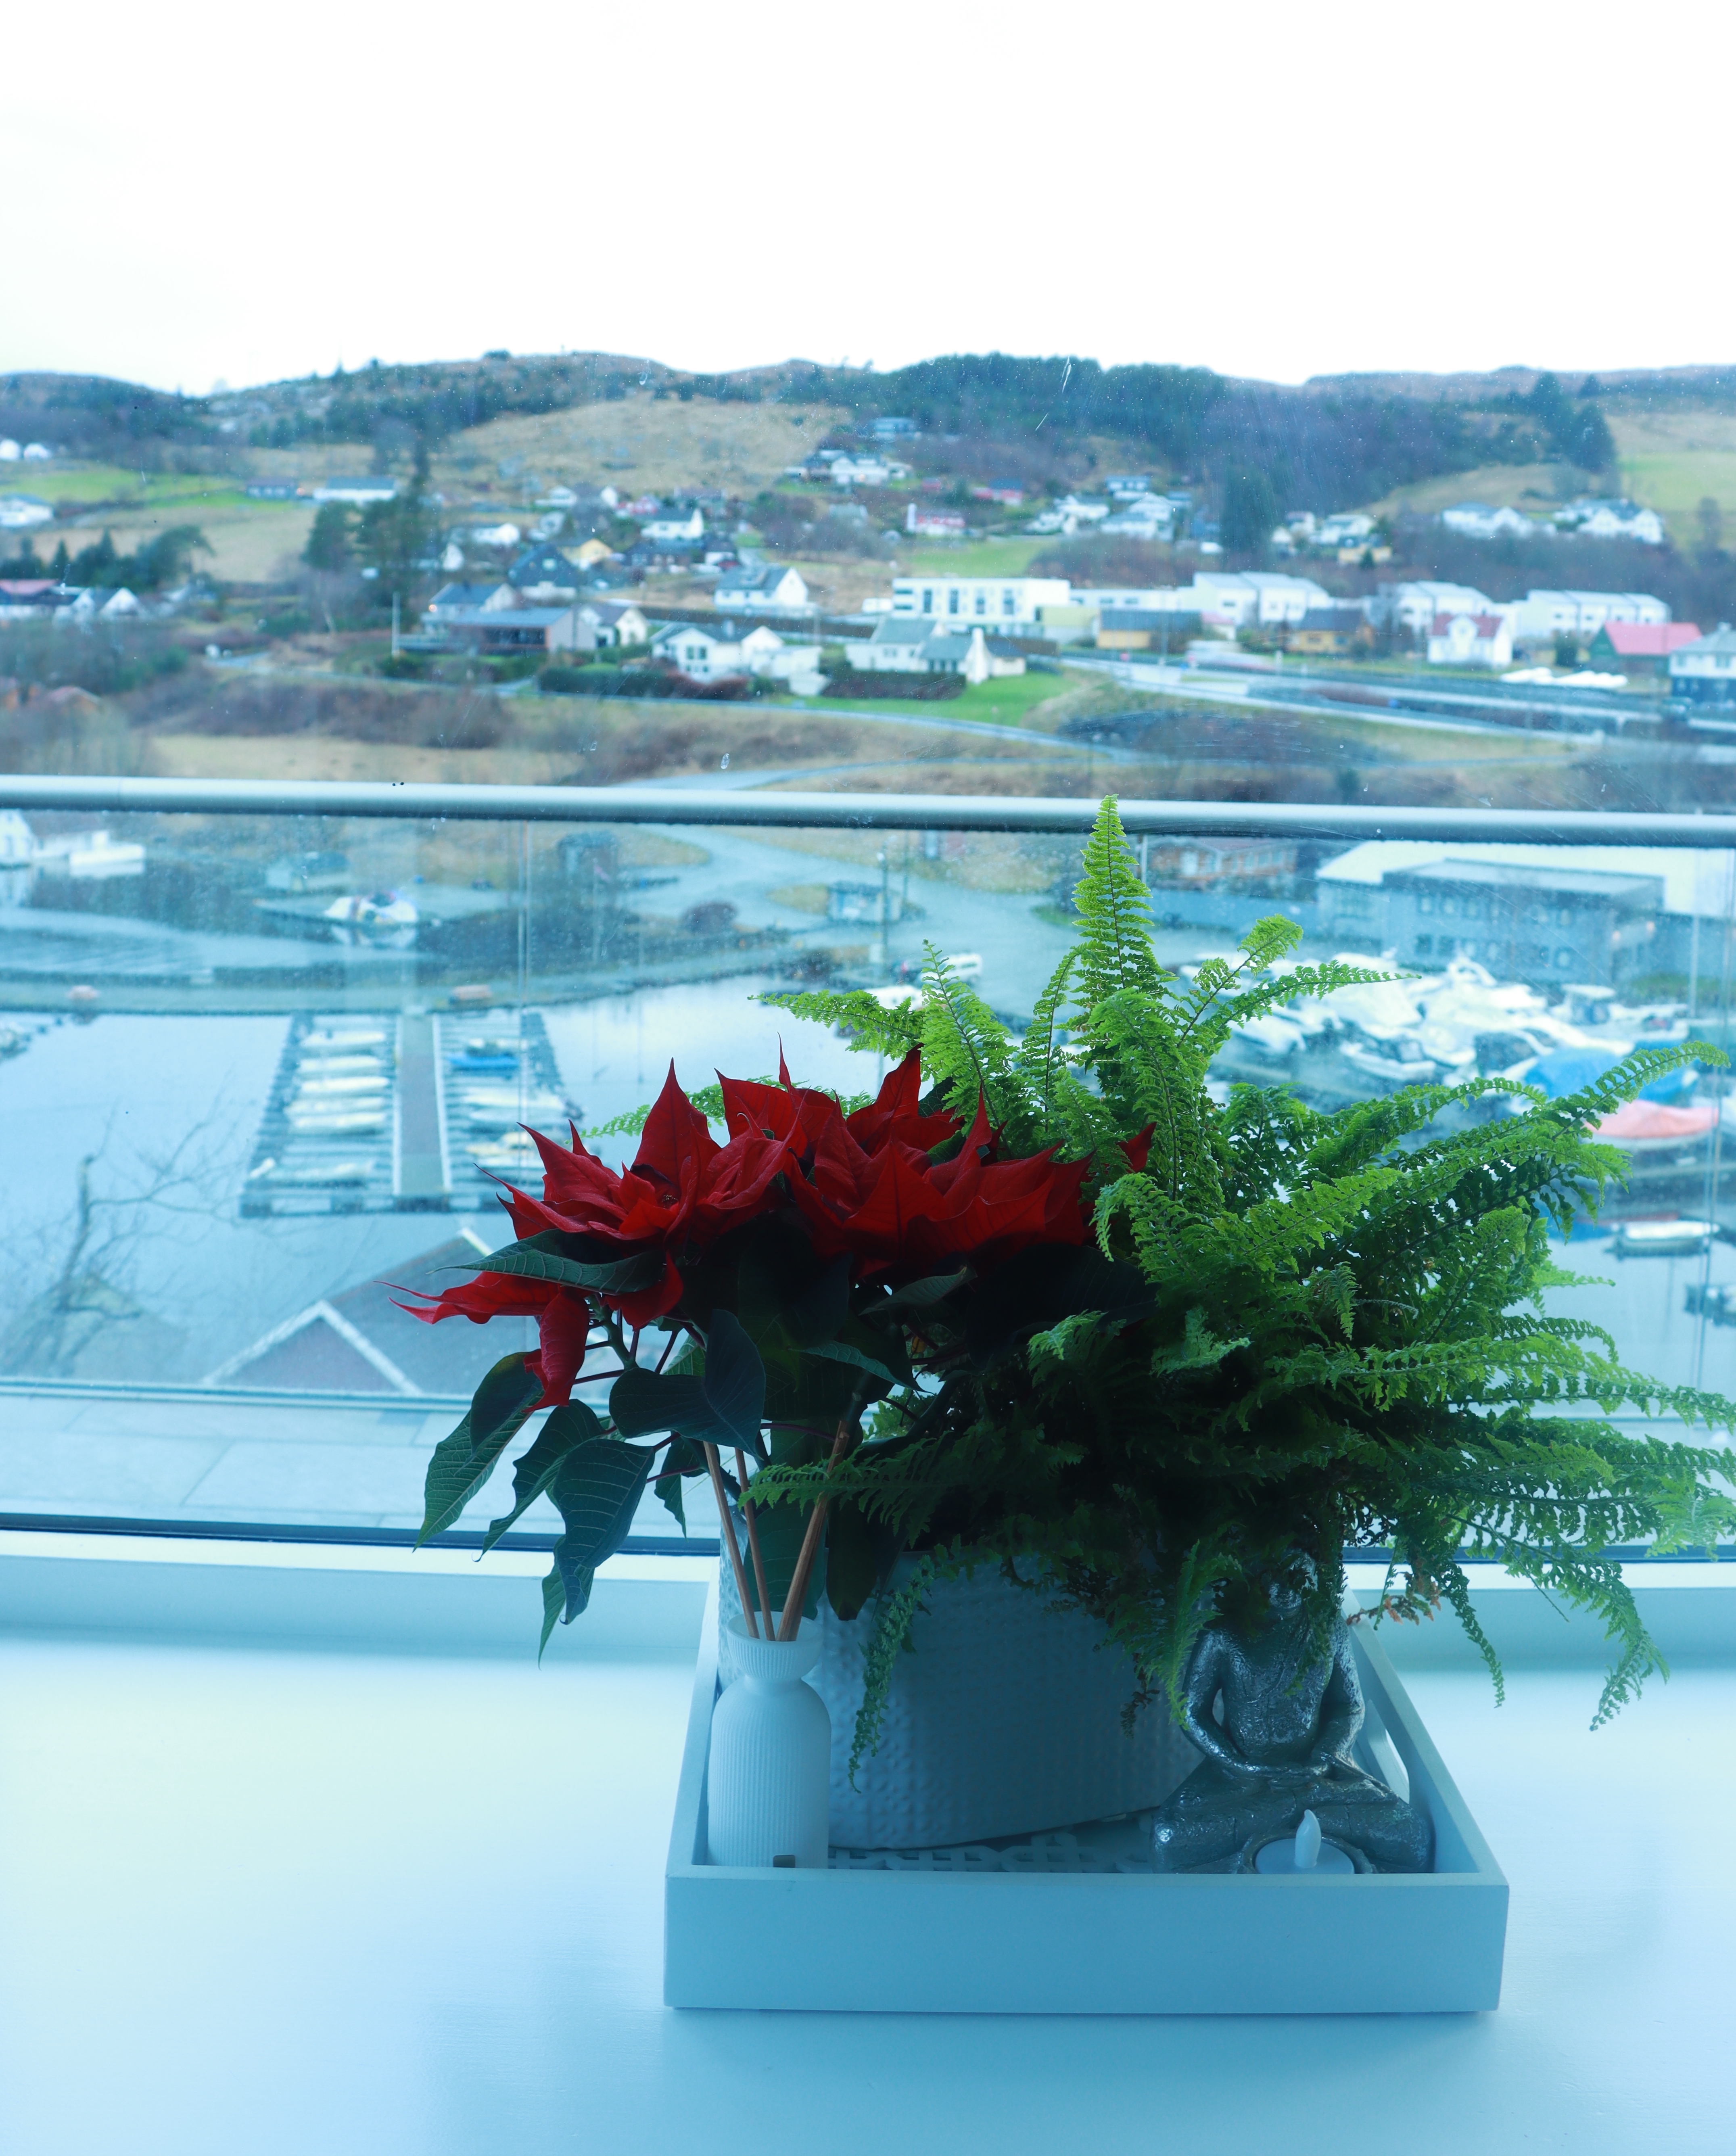
This photo was taken with ISO100, f/5.6, shutter speed 1/4s, the light meter centred, with tripod, picture style (auto), white balance (daylight). The shutter speed before adjusting was 1/10s (too dark), so I adjusted to 1/4s for correctly exposed.
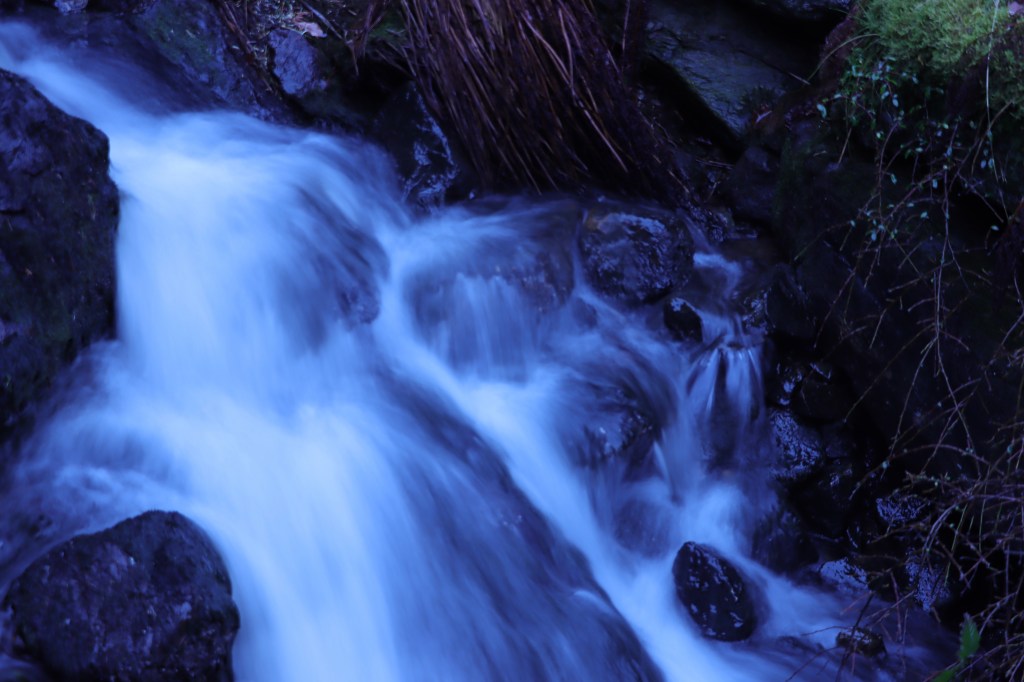
3.2 Dark on dark


ISO 100, aperture f/8, light meter centred. After adjusted the shutter speed to REDUCE the amount of light coming into the camera. I changed the shutter speed from 8.0s to 2.5s (from left to right) for making the dark/black tones look faithful. The shutter speed was very slow, so the tripod was saved these photos.
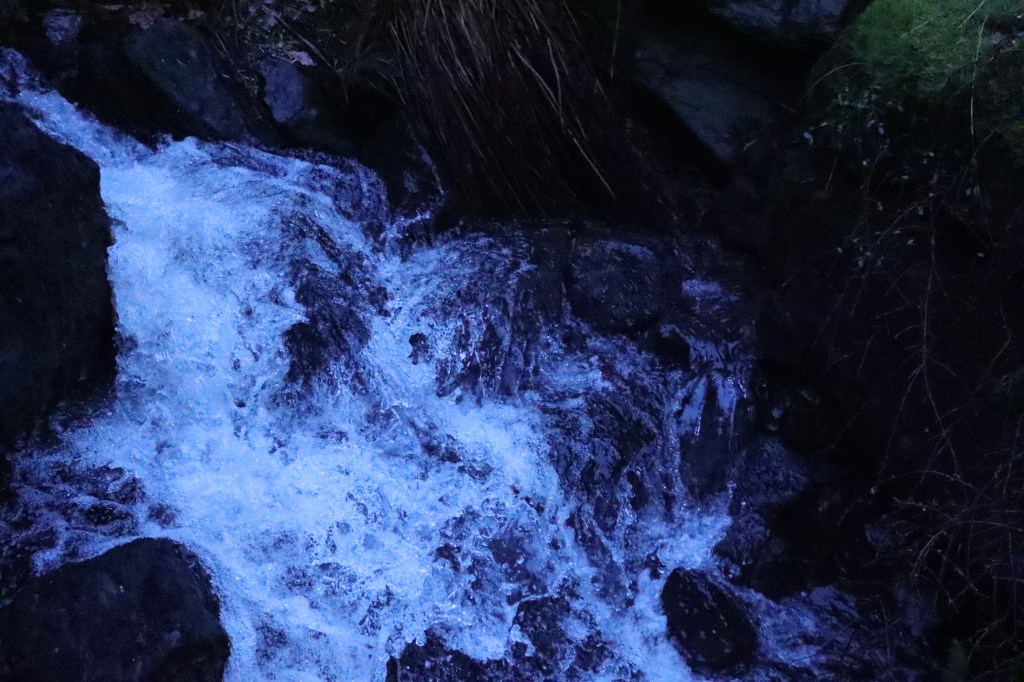
3.3 Light on light


ISO 100, aperture f/11, light meter centred. The shutter speed was very slow, so the tripod was saved these photos. After adjusted the shutter speed to INCREASE the amount of light coming into the camera. I found it’s more slower. I changed the shutter speed from 2.5s to 6.0s (from right to left) for making the white/light tones look faithful.
PART 4: ASPECTS OF THE CAMERA CONTROLS / CHARACTERISTICS OF LIGHT
4.1 Depth of field

4.2 Freeze movement & movement
4.3 Low light with tripod